Range Trading in Forex: How to Trade Sideways Markets
Range trading in forex explained: how to spot a sideways market, buy support and sell resistance, place stops and targets, and tell when a range breaks.

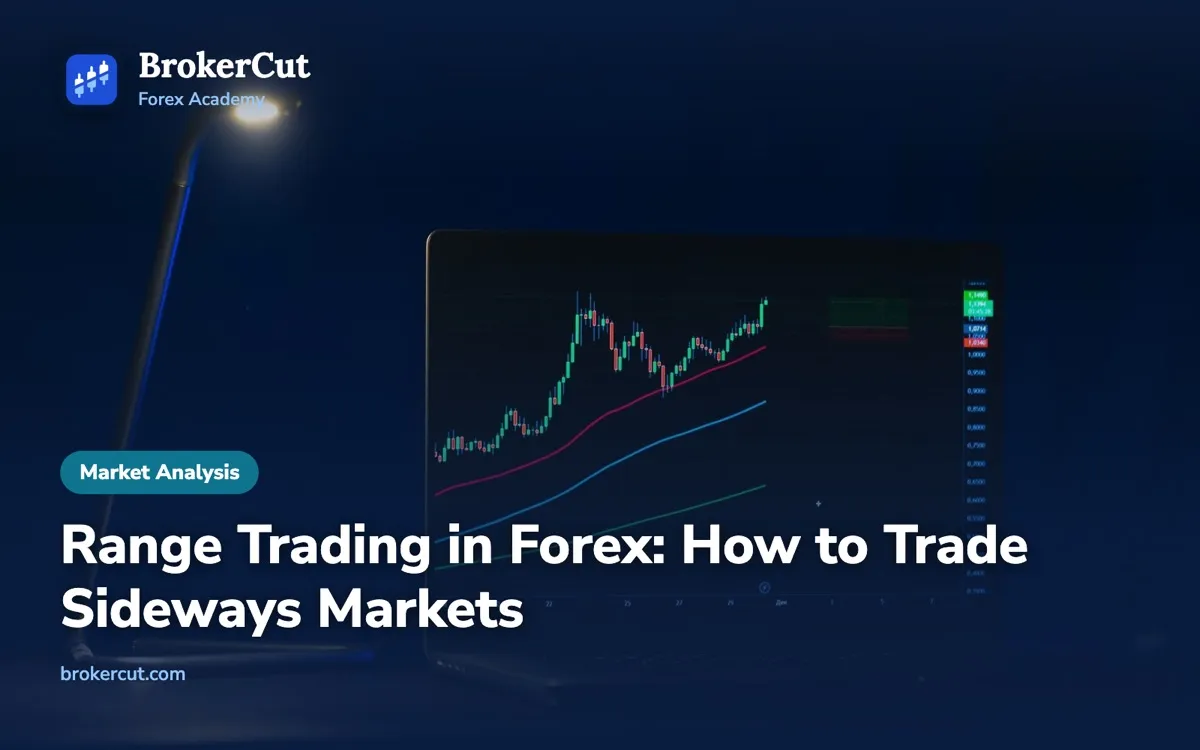
A good part of the time, currency pairs go nowhere. Price drifts up to the same ceiling, falls back to the same floor, and every trend signal you try loses a little. Range trading is the method built for exactly those weeks.
Quick answer: Range trading means buying near support and selling near resistance while a currency pair moves sideways between them. You confirm the range with at least two touches on each edge, place your stop just beyond the edge you trade from, and target the midline or the opposite side. When price closes decisively outside the range, the method stops.
What is range trading in forex?
A range is a stretch of price action where a pair moves sideways between a floor and a ceiling. The floor is support, where falling prices keep stopping and turning up. The ceiling is resistance, where rising prices keep stalling. Neither buyers nor sellers are strong enough to push price out, so it bounces back and forth between the two.
Range trading is the plan that follows from that picture. If price has turned at the same two edges several times, you buy near the floor, sell near the ceiling, and get out somewhere in between. You are betting that the current balance between buyers and sellers lasts a little longer.
Ranges form for ordinary reasons. Markets often go quiet before a big event, such as a central bank decision or a jobs report, because nobody wants to commit until it is out. They form after a long trend has run its course and the market is digesting the move. And some pairs spend long periods sideways because the two economies behind them move in step. EUR/GBP is the classic example: the euro area and the UK trade heavily with each other, their interest rates often move in a similar direction, and the pair has a long habit of sideways drift.
The Academy lesson on chart patterns lists the range, also called a rectangle, as one of six shapes every trader should know. Unlike the others, it carries no built-in direction. Browse the gallery below and compare it with its neighbours.
Bearish reversal
Price fails at the same high twice, then breaks the low between the two peaks. Buyers tried twice and gave up.
Six chart patterns. The range (rectangle) is the only neutral one: price bounces between a flat floor and a flat ceiling until one side gives way.
A double top says buyers are failing; a bull flag says they are resting. A range says nobody is winning yet, and that is something you can trade, carefully, until it changes.
How to identify a range-bound market
Most losing range trades start with a range that was never really there. Before you look for an entry, the chart needs to pass three tests.
- Flat highs. The swing highs sit at roughly the same price. If each high is higher than the last, you are looking at an uptrend, not a range. Our guide on how to identify a trend shows how to read the sequence of swing highs and lows.
- Flat lows. The swing lows sit at roughly the same price too. Rising lows under flat highs is a different shape, an ascending triangle, which usually resolves upwards.
- At least two touches on each edge. One turn is an event. Two turns at the same level start to look like a decision the market has made. Until you have two clear touches at the top and two at the bottom, you have a guess, not a range.
Draw both edges as zones, not single lines. Price rarely turns at exactly the same number twice: one high stops at 0.8578, the next at 0.8576, the next pokes to 0.8579. A zone a few pips wide through the cluster of turning points captures all of them. On a one-hour chart a zone of 5 to 10 pips is typical for a major pair; on a daily chart, 20 to 40. Our guide to support and resistance in forex explains why zones beat lines in more detail.
Once both edges are drawn, add two more marks. The midline is the price halfway between the floor and the ceiling. The range height is the distance between them, in pips. Both matter later: the midline is a natural first target and a no-trade area, and the height tells you whether the range is wide enough to be worth trading at all.
Finally, check the timeframe. A range on a five-minute chart may be nothing more than a pause inside a single four-hour candle. Ranges on the four-hour and daily charts are tested by more money over more time, and tend to hold more reliably. Step through the chart below to see a range take shape on EUR/GBP.
An illustrative EUR/GBP range drawn step by step: two turns at the top, two at the bottom, a midline between them, then a sell plan from the third visit to resistance. Prices are illustrative, not market data.
Range filters: moving averages, ADX and other tools
Your eyes are the main tool for spotting a range, but a few indicators can confirm what you see. None is required, and none should overrule a clear chart. Treat them as a second opinion on the first question: is this market trending or not?
A flat moving average. A moving average smooths price into a single line. In a trend it slopes clearly and price stays mostly on one side of it. In a range it flattens out and price crosses it again and again. A 50-period average on your trading timeframe that has gone flat, with price weaving through it every few candles, is one of the simplest range filters there is. Our guide to moving averages in forex explains why crossover signals whipsaw in exactly these conditions.
ADX. The Average Directional Index, developed by J. Welles Wilder, measures how strong a trend is, not which way it is going. It runs from 0 to 100. Many traders treat readings below about 20 as a sign of a weak or absent trend, and readings above about 25 as a trending market. Those thresholds are conventions, not laws, but a low and falling ADX alongside flat highs and lows is useful confirmation that range tactics are appropriate.
Oscillators such as RSI. The RSI swings between 0 and 100 and tends to work better in sideways markets than in trends. In a range, a reading near 70 as price reaches resistance, or near 30 as it reaches support, adds a little weight to a reversal. In a strong trend the same readings can persist for days. Our guide to the RSI indicator covers this in detail, and the Academy lesson on indicators shows how RSI and moving averages are calculated.
Volatility bands. Bollinger Bands and the Average True Range both measure how much price is moving. When they narrow, the market is quiet, which often goes with ranging conditions. But a very tight squeeze is also how many ranges end, so treat narrowing volatility as a reason to watch closely rather than a reason to relax. Our guides to Bollinger Bands and the ATR indicator go further.
The rule with all of these is the same: price comes first. If the highs and lows are flat and the edges have been tested twice, the indicators can only confirm it. If the highs are clearly rising, no flat indicator reading turns that into a range.
How to trade a range: buy support, sell resistance
Once you have a range you trust, the plan is simple: buy near the floor, sell near the ceiling, and leave the middle alone. The hard part is waiting for price to reach an edge.

The edges matter because they set your numbers. A sell near the ceiling has a stop a short distance away, just above the range, and a target a long way off. The same sell in the middle needs a stop above the ceiling and a target at the floor, so the risk grows while the reward shrinks. That is why experienced range traders do nothing for most of the time a range is in play.
Wait for the edge to show itself
Reaching the edge is not enough on its own. The range might be about to break, and you do not want to be buying the floor on the day it gives way. Most range traders wait for a sign that the edge is being defended before entering:
- A rejection candle. A hammer or bullish engulfing candle at support, or a shooting star or bearish engulfing candle at resistance, shows the other side stepping in. Our guide to candlestick patterns covers each one.
- A close back inside the zone. If a candle pokes through the edge and then closes back inside, the break has failed. That failure is often the strongest range signal of all, because the traders who bet on the break are now trapped.
- Momentum fading into the edge. Smaller candles and longer wicks as price approaches the zone suggest the push is running out of energy.
Some traders instead place a limit order just inside the zone and let price come to them. That gets a better price but ignores what price does when it arrives. Waiting for a close costs a few pips; it buys you evidence. Either is valid, as long as your trading plan says which one you use.
Trade the range in the right session
Ranges behave differently through the day. Quiet hours, such as the late New York afternoon and much of the Asian session for European pairs, tend to produce tight, tidy ranges. The London open and the London–New York overlap bring more volume, and that is when many ranges are tested hardest or broken. Our guide to forex market hours shows when each session runs.
Range trading stops and targets
A range gives you a ready-made plan: where to get in, where you are wrong, and where to get out.
The stop goes beyond the edge. If you sell at resistance, your idea is that the ceiling will hold. The moment price trades convincingly above it, the idea is wrong. So your stop loss goes above the resistance zone, not inside it, with a few extra pips of room for the spread and ordinary noise. A stop placed exactly on the edge will be hit by the first wick that pokes through, even when the range holds. The Academy lesson on stop-loss placement and our guide on where to place a stop loss cover the buffer in more depth.
The first target is the midline. Price often pauses or turns at the halfway point, because it is where traders who entered at the edges start taking profits, and where both sides reassess. Taking some or all of the position off there is a conservative choice.
The second target is just inside the opposite edge. If the range holds, price should travel all the way across. Aim a few pips short of the far zone rather than at its middle, because the orders waiting there will start to slow price before it arrives.
Check the range is wide enough to pay
Before you take any range trade, divide the distance to your target by the distance to your stop. That is the reward-to-risk ratio, and it decides how often you need to be right. A 25-pip stop with a 70-pip target to the far side is 2.8 to 1, so you would break even before costs by winning only about a quarter of those trades. Taking profit at a 35-pip midline is 1.4 to 1, which needs a win rate of about 42%.
This is why narrow ranges are dangerous. If a range is only 30 pips tall, a sensible stop beyond the edge might be 12 pips and the far side only 18 pips away after you allow for the zones. Add a spread of a pip or two at each end and there is almost nothing left. A useful rule of thumb: if the far edge is not at least twice your stop distance away, skip the range. Try the numbers from the EUR/GBP trade above, then change them.
Break-even win rate = 1 ÷ (1 + R), where R is the reward-to-risk ratio. Costs push the real figure a little higher.
Change the take profit from 0.8530 to 0.8495 and watch the break-even win rate fall. That is the difference between the two targets, and it is the main reason many range traders split their position between them. Our guide to the risk-reward ratio explains the maths behind the break-even figure.
The range set the stop, the stop set the position size, and the midline and far edge set the targets. The Academy lesson on position sizing covers the same arithmetic for every pair, and our guide to position sizing in forex explains why the size always comes last.
Before any range trade, run through the same short check. It takes a minute, and it filters out most of the trades that go wrong.
When ranges break: range breakout warning signs
Every range ends. The orders defending the edges are used up, the awaited news arrives, or one side runs out of patience. A breakout is a decisive move through one of the edges, and for a range trader it is the moment the method stops working. You cannot know in advance when it will come, but there are warning signs worth watching.

- Touches piling up quickly. Two or three clean turns make an edge credible. Five or six in quick succession, each with a smaller bounce, usually mean the orders at that level are being absorbed. The edge is weakening, not strengthening.
- Pressure from one side. Rising lows pressing into a flat ceiling, or falling highs pressing onto a flat floor, show one side gaining ground. The range is turning into a triangle, and triangles tend to break in the direction of the pressure.
- A major event on the calendar. Central bank decisions, inflation figures and jobs reports are where many ranges die. For EUR/GBP, that means meetings of the Bank of England and the European Central Bank in particular. Check the economic calendar before every range trade, and avoid holding one through a release that could move the pair further than your stop.
- Volatility squeezing tighter. When the range narrows and candles shrink, energy is building.
What to do when the range breaks
When a candle on your trading timeframe closes clearly outside the range, your range trades are over. Any position betting on the broken edge should already have been stopped out. Do not move the stop to give it more room, and do not add to it in the hope that price comes back.
A break raises a new question: whether the old edge will flip. Broken resistance often becomes support, and broken support often becomes resistance, as traders who were caught on the wrong side exit on the way back. A retest of the broken edge that holds from the other side is the classic entry for the next move, and it is a completely different trade from the one you were taking inside the range. Our guide to breakout trading in forex covers how to tell a real break from a fakeout.
When price pokes through an edge, triggers the stop orders sitting beyond it, and then closes back inside, the traders who bought the break are now losing. Their exits push price back across the range. A failed break, with a stop beyond the fresh extreme, is often one of the cleaner range entries you will see. Try the replay below and decide what you would do before the chart plays out.
EUR/GBP has held 0.8490 four times, but each rally is weaker than the last. What is the sensible plan?
Illustrative EUR/GBP replay. Answer the question, then watch the rest: the floor breaks, and the old support acts as resistance on the retest.
Common range trading mistakes
Calling a range too early
One high and one low make a swing, not a range. Traders who sell the first return to a high are often selling an uptrend’s pullback. Wait for two touches on each edge before you treat the levels as a range.
Trading the middle
The middle third of a range has the worst numbers on the chart: a distant stop and a distant target. The urge to trade there is usually boredom, not analysis.
Stops inside the zone
A stop placed exactly on the edge, or a few pips inside the zone, will be taken out by the first wick that probes the level, even when the range holds perfectly. Put the stop beyond the whole zone with room for the spread.
Holding through the news
A range that has held for two weeks can be gone in two minutes after a rate decision. If a major release is due before your target is likely to be reached, either close the trade first or do not open it.
Refusing to accept the break
Range traders get used to edges holding, so when one finally breaks, it is tempting to treat it as another false break and buy more. Keep a record of how your ranges ended in a trading journal; you will quickly see how expensive that habit is. And remember that no method makes leveraged trading safe. Regulators such as the UK’s Financial Conduct Authority require brokers to publish the share of their retail accounts that lose money, and it is usually the majority.
Frequently asked questions
What is range trading in forex?
Range trading is a method for sideways markets. When a currency pair keeps turning at the same floor and ceiling, you buy near support, sell near resistance, place your stop just beyond the edge you trade from, and take profit at the midline or near the opposite edge. It stops working when the range breaks.
How do you know if the market is ranging?
Look for flat swing highs and flat swing lows, with at least two clear touches on each edge. A flat moving average with price crossing it repeatedly supports the reading, as does a low ADX. If the highs or lows are clearly rising or falling, the market is trending, not ranging.
Where should you put a stop loss in range trading?
Beyond the edge you are trading from, outside the whole support or resistance zone, with a few extra pips for the spread and noise. If you sell at resistance, the stop goes above the resistance zone. A stop inside the zone is likely to be hit by an ordinary wick even when the range holds.
Which currency pairs range the most?
Crosses between closely linked economies, such as EUR/GBP, have a long habit of sideways drift, and many pairs range during quiet sessions or before major news. No pair ranges all the time, though. Judge the chart in front of you rather than assuming a pair will behave the way it did last month.
Is range trading better than trend trading?
Neither is better; they suit different market conditions. Range trading tends to work while price is balanced between two levels and fails when a breakout starts a trend. Trend methods do the opposite. Many traders learn to recognise which condition the market is in and apply only the method that fits it.
Free course
Learn this step by step
“Reading Price Charts” is a free BrokerCut Academy course: 10 short lessons (about 80 minutes), quizzes, interactive tools and a certificate when you finish.
Enrol free